How to Safely Remove Old Roofing Materials for Your DIY Project
Undertaking a roof renovation project can be incredibly rewarding. However, removing old roofing materials can pose risks and challenges. This guide will provide detailed steps to safely remove roofing materials, ensuring both your safety and the efficiency of your project.
1. Preparation is Key
Before you get started, take the time to plan your project. Proper preparation involves:
Assessing the Condition of the Roof
Check for any weaknesses in the structure. Look for signs of rot, corrosion, or damage that could complicate the removal process.
Gathering Necessary Tools
Equip yourself with the right tools. Common tools required include:
- Roofing knife
- Pry bar
- Hammer
- Safety goggles
- Hard hat
- Dust mask
- Tarps
- Ladder
- Work gloves
Securing the Area
Ensure the area around your home is clear. Keep pets and children away from the work zone. Lay down tarps to catch debris and minimize cleanup time.
2. Safety Precautions
Your safety is paramount. Before starting the removal process, adhere to these guidelines:
Wear Protective Gear
Always wear appropriate safety gear. This includes:
- Heavy-duty gloves
- Non-slip footwear
- Hearing protection (if using power tools)
Work with a Partner
Never work alone on a roof. Having a partner can not only enhance safety but also help with tasks that require multiple hands.
Be Aware of Weather Conditions
Check the forecast before beginning. Avoid working in rainy or windy conditions to minimize the risk of accidents.
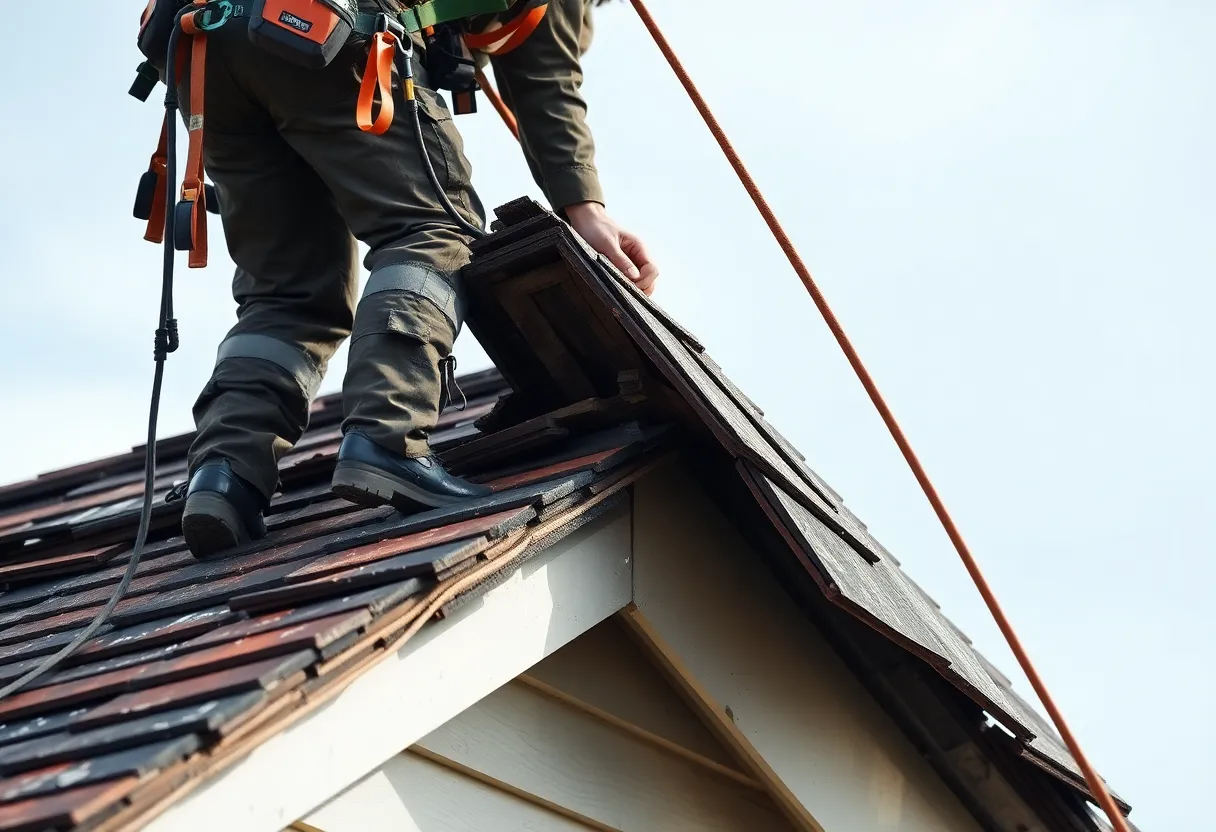
3. Removing Roofing Materials
Once you have completed preparation and ensured safety, you can begin removing the old roofing materials.
Start at the Roof’s Edge
Begin your project at the edge of the roof. Use a roofing knife to cut through any shingles or tiles, working your way up.
Use a Pry Bar for Shingle Removal
Insert a pry bar beneath the shingles. This tool will help lift the shingles without damaging the underlying material. Be careful to apply even pressure while prying.
Remove Flashing and Underlayment
After removing the shingles, proceed to take off the flashing and underlayment. Use a roofing knife to make clean cuts, ensuring you do not damage the roofing deck.
4. Disposal of Old Materials
Disposing of old roofing materials properly is essential for both safety and environmental reasons.
Identify Local Regulations
Before disposal, check local guidelines regarding roofing materials. Some materials, like asbestos, require special handling.
Use a Dumpster
Consider renting a dumpster for easy disposal. This method simplifies cleanup and keeps your workspace organized.
5. Inspecting the Roof Deck
After removing the old roofing materials, inspect the roof deck for any signs of damage or rot.
Repair Any Damage
Repair any damaged areas before installing new roofing. This step ensures longevity and performance of the new roof.
Prepare for New Roofing Materials
Once repairs are complete, ensure the deck is clean and dry. This preparation is critical for effective installation of new roofing materials.
Conclusion
Removing old roofing materials is a significant step in any DIY roofing project. By following the above guidelines, you can manage your project safely and efficiently. Always prioritize safety and preparation to ensure a successful outcome.
Further Considerations
After successfully removing your old roofing materials, take the time to research and select high-quality new materials that align with local building codes. Always consider the sustainability and longevity of your roofing choice to best protect your investment in the long run.
Author: STAFF HERE HILTON HEAD
The HILTON HEAD STAFF WRITER represents the experienced team at HEREHiltonHead.com, your go-to source for actionable local news and information in Hilton Head Island, Beaufort County, and beyond. Specializing in "news you can use," we cover essential topics like product reviews for personal and business needs, local business directories, politics, real estate trends, neighborhood insights, and state news affecting the area—with deep expertise drawn from years of dedicated reporting and strong community input, including local press releases and business updates. We deliver top reporting on high-value events such as the RBC Heritage golf tournament, Hilton Head Island Wine & Food Festival, and the Gullah Celebration. Our coverage extends to key organizations like the Hilton Head Island-Bluffton Chamber of Commerce and Community Foundation of the Lowcountry, plus leading businesses in tourism and hospitality that power the local economy such as Sea Pines Resort and Sonesta Resort Hilton Head Island. As part of the broader HERE network, including HEREAiken.com, HEREBeaufort.com, HEREChapin.com, HERECharleston.com, HEREClinton.com, HEREColumbia.com, HEREGeorgetown.com, HEREGreenwood.com, HEREGreenville.com, HEREHiltonHead.com, HEREIrmo.com, HEREMyrtleBeach.com, HERENewberry.com, HERERockHill.com, and HERESpartanburg.com, we provide comprehensive, credible insights into South Carolina's dynamic landscape.