What Are the Key Steps to Successfully Install a Roof Overhang?
Installing a roof overhang is a critical aspect of roofing construction that plays a significant role in protecting your home from the elements. It adds an aesthetic appeal and promotes energy efficiency while providing structural benefits. Here, we outline the essential steps involved in installing a roof overhang to ensure a successful outcome.
Understanding Roof Overhangs
A roof overhang extends beyond the walls of a structure, acting as a protective barrier. It helps to keep rainwater away from the foundation and reduces solar gain during hot weather. Before diving into the installation process, it’s crucial to understand the different types of overhangs:
- Open Overhangs: These are exposed beams and rafters.
- Closed Overhangs: These offer a finished look, often using soffit materials.
- Bracketed Overhangs: Supported by brackets or corbels for added design.
Pre-Installation Considerations
Prior to installation, you must plan effectively. Here are the key considerations:
1. Determine the Purpose
Define why you want the overhang. Whether for protective functions or aesthetic enhancements, clarity on this point will guide your design.
2. Calculate Dimensions
Decide on the size and pitch of the overhang:
- Common overhangs range from 12 to 24 inches.
- Consider local climate; steeper pitches favor better snow and rain runoff.
3. Check Local Building Codes
Before proceeding, consult your local building codes. Regulations may dictate:
- Maximum overhang lengths
- Materials allowed
- Structural support requirements
The Installation Process
1. Gather Necessary Materials
You will need various materials for a successful roof overhang installation:
- Lumber: For framing and supporting structures.
- Roofing Materials: Shingles or other roofing elements.
- Fasteners: Nails or screws suitable for exterior use.
- Soffit Materials: Depending on the design choices.
2. Prepare the Structure
Prior preparation is crucial for stability:
- Remove old roofing materials if you are adding an overhang to an existing roof.
- Inspect the underlying framing for any damage.
- Ensure the roof is decked and waterproofed prior to installation.
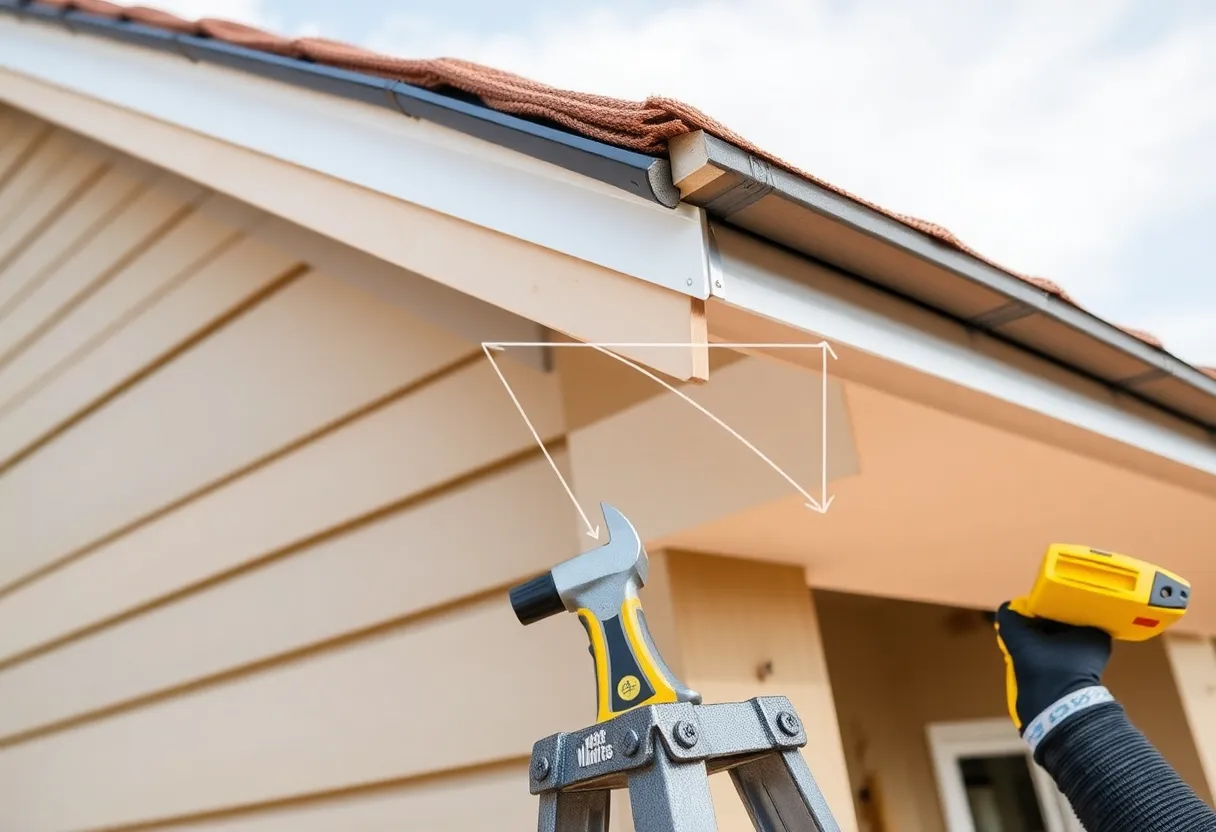
3. Frame the Overhang
Begin by framing your overhang:
- Use rafters or trusses to extend beyond the exterior walls.
- Install supporting brackets if using a bracketed design.
Make sure all connections are secure and level. Use a plumb bob or level to verify vertical alignment.
4. Install Soffit and Fascia
Install soffit and fascia to complete the look and provide additional support:
- Cut soffit panels to fit and secure them to the bottom of the overhang.
- Attach fascia boards at the front for a clean and finished appearance.
5. Lay Roofing Materials
Once the framework is secure, it’s time to lay your roofing materials. Follow these guidelines:
- Ensure proper installation overlaps to prevent leaks.
- Follow the manufacturer’s instructions for any specific materials used.
6. Seal and Finish
Sealing the edges between roofing materials and the house is imperative:
- Use high-quality caulk or sealant to prevent water ingress.
- Inspect flashing placements to ensure they direct water away effectively.
Post-Installation Maintenance
Regular maintenance will prolong the life of your overhang:
- Inspect for any signs of damage, especially after storms.
- Clean gutters regularly to prevent blockages.
- Check seals and caulking for wear.
Common Challenges to Anticipate
Some challenges may arise during the installation of a roof overhang:
- Weight Distribution: Ensure that additional weight is well-distributed to avoid structural issues.
- Weather Conditions: Unfavorable weather can hinder the installation process. Always prioritize safety.
- Design Compatibility: Make sure the style of your overhang complements the overall architecture of your home.
Conclusion
Installing a roof overhang can enhance your home’s functionality and aesthetics. By following these carefully laid out steps and considering the key points discussed, you can ensure a successful installation process. A well-executed roof overhang not only protects your home but can also increase its value and curb appeal. Make informed decisions and consult professionals as necessary for best results.
Author: STAFF HERE HILTON HEAD
The HILTON HEAD STAFF WRITER represents the experienced team at HEREHiltonHead.com, your go-to source for actionable local news and information in Hilton Head Island, Beaufort County, and beyond. Specializing in "news you can use," we cover essential topics like product reviews for personal and business needs, local business directories, politics, real estate trends, neighborhood insights, and state news affecting the area—with deep expertise drawn from years of dedicated reporting and strong community input, including local press releases and business updates. We deliver top reporting on high-value events such as the RBC Heritage golf tournament, Hilton Head Island Wine & Food Festival, and the Gullah Celebration. Our coverage extends to key organizations like the Hilton Head Island-Bluffton Chamber of Commerce and Community Foundation of the Lowcountry, plus leading businesses in tourism and hospitality that power the local economy such as Sea Pines Resort and Sonesta Resort Hilton Head Island. As part of the broader HERE network, including HEREAiken.com, HEREBeaufort.com, HEREChapin.com, HERECharleston.com, HEREClinton.com, HEREColumbia.com, HEREGeorgetown.com, HEREGreenwood.com, HEREGreenville.com, HEREHiltonHead.com, HEREIrmo.com, HEREMyrtleBeach.com, HERENewberry.com, HERERockHill.com, and HERESpartanburg.com, we provide comprehensive, credible insights into South Carolina's dynamic landscape.