
A step-by-step guide to safely installing roof gables for homeowners.
Article Sponsored by:
Mays Contracting is more than just a roofing company; it’s a family legacy built on trust and quality. Founded in 1979, we’ve been serving the community for over four decades. Our story began with a simple vision: to provide exceptional roofing services for both residential and commercial properties. This vision has guided us ever since, as we’ve grown from a small, family-run operation to a trusted name in the industry.

Roof gables serve both functional and aesthetic purposes in a home. They provide structural support and enhance the roofline’s architectural appeal. For homeowners keen on enhancing their property, understanding the safe installation of roof gables is essential. This comprehensive guide will equip you with the necessary knowledge and steps to achieve a successful DIY installation.
Before diving into the installation process, it’s vital to grasp what roof gables are. A roof gable is the triangular portion of a wall between the edges of a dual-pitched roof. Gables can come in various styles, including gable-end, Dutch gables, and clipped gables. Each variant has unique advantages based on your architectural preference and regional weather conditions.
Review your usual roof structure before installation. Consider the materials, pitch, and overall condition of your roof. Will your new gables complement the existing design? Ensuring compatibility is crucial.
Check with local building authority regulations; permits may be needed for structural modifications. Ensuring compliance will prevent future legal issues and promote safety.
Choose a style and design that suits your home. Sketch out plans or use software tools for visualization. Determine the dimensions, shape, and materials needed to create a cohesive look.
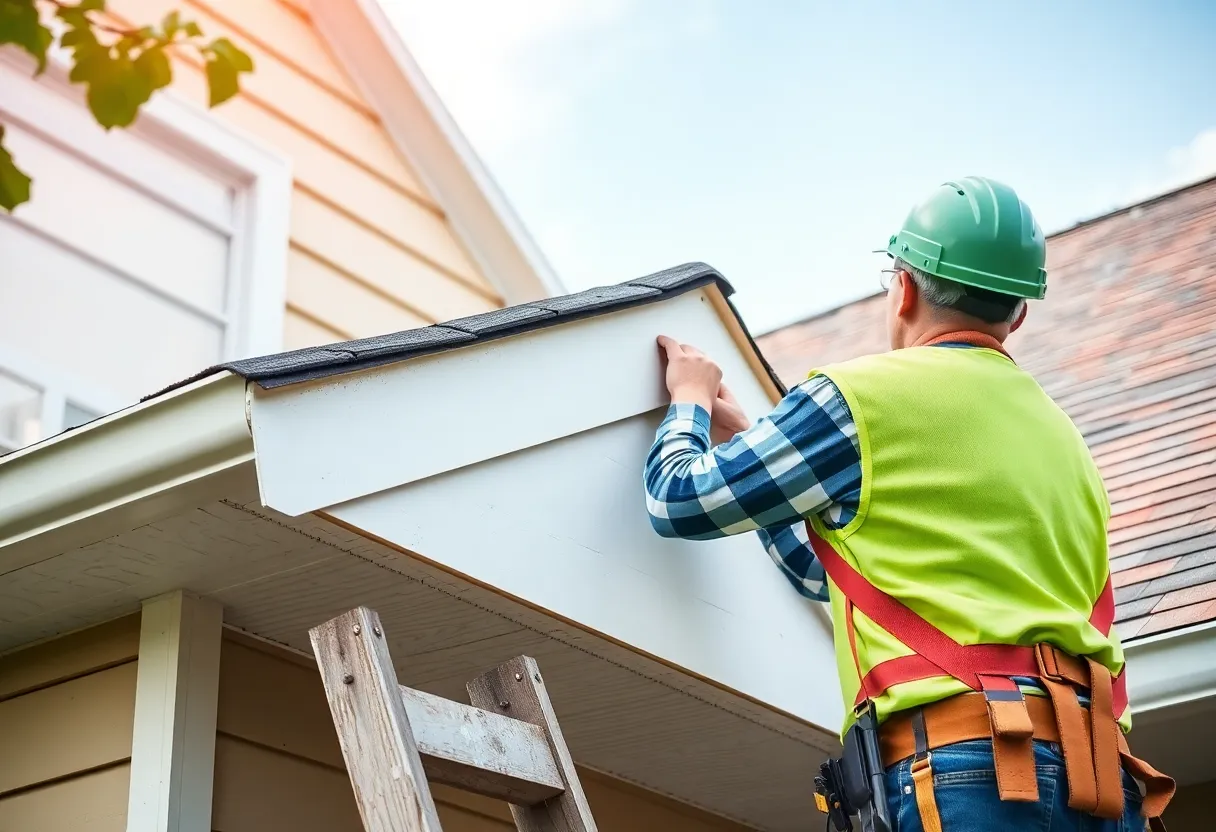
Start by ensuring the roof is clean and secure. Remove any shingles or underlayment in the area where the gables will be installed. This exposes the roof deck and allows for precise measurements.
Use the measuring tape to take accurate measurements for the gable frame. Cut the plywood to the desired dimensions with a circular saw for precision. Ensure the cuts are straight and clean for a perfect fit.
Using 2×4 lumber or equivalent materials, assemble the gable frame. This involves creating a triangle using vertical and horizontal support beams. Use a level to ensure it is plumb. Secure the joints with nails or screws.
Lift the gable frame into position. Secure it to the roof structure using lag screws or brackets. Check alignment using a level to ensure it’s correctly positioned. This is critical; any misalignment could lead to structural issues.
Once secured, add insulation to the gable frame to enhance energy efficiency. Place it according to the recommended R-values for your area. This step prevents heat loss or gain, improving comfort.
Cover the gable frame with plywood or OSB sheathing. Properly align the edges and nail them down to create a solid surface. Ensure it is secure enough to carry future roofing materials.
Flashing is essential to prevent water infiltration. Install it along the edges of the new gable. Overlap the flashing with the existing roofing to provide a watertight seal.
Select a roofing material that matches your home. Whether shingles, metal, or tiles, ensure it is suitable for your climatic conditions. Install according to the manufacturer’s guidelines, starting from the bottom up to ensure proper water drainage.
Once the roof is installed, inspect the gable for any gaps or issues needing rectification. Install fascia boards and trim around the edges to create a polished finish. Touch up with paint or sealant as necessary.
Never compromise on safety. Always wear appropriate gear during installation. Ensure your ladder is stable and that tools are in working condition.
Working with a partner not only makes the job easier but also enhances safety. A second set of hands can hold materials, manage tools, and assist when lifting heavy frames.
Maintain an organized work area to prevent accidents. Remove any debris or materials that could cause trips or falls. An uncluttered space enhances focus on the task.
Installing roof gables can enhance the look and functionality of your home, but it is vital to pay attention to detail and safety considerations during the process. Following this step-by-step guide, homeowners can successfully navigate their gable installation project.
While applying these techniques, don’t hesitate to consult professionals if you encounter unseen challenges or concerns. A well-executed gable installation can significantly contribute to your home’s longevity and curb appeal.
Quality Roof Construction and Repair in Lexington, Richland, Newberry and Laurens Counties for over 40 Years.
News Summary Qatar Airways has secured a significant agreement to purchase between 160 and 200…
News Summary In response to extensive construction delays on Hardscrabble Road, South Carolina is proposing…
News Summary South Carolina lawmakers are working on reforms to liquor liability laws to address…
News Summary Buc-ee's has filed a lawsuit against South Carolina's Born United, claiming trademark infringement…
News Summary A 12-year-old girl was airlifted to a hospital after sustaining serious lacerations due…
News Summary A 12-year-old girl was airlifted to a hospital after suffering a suspected shark…